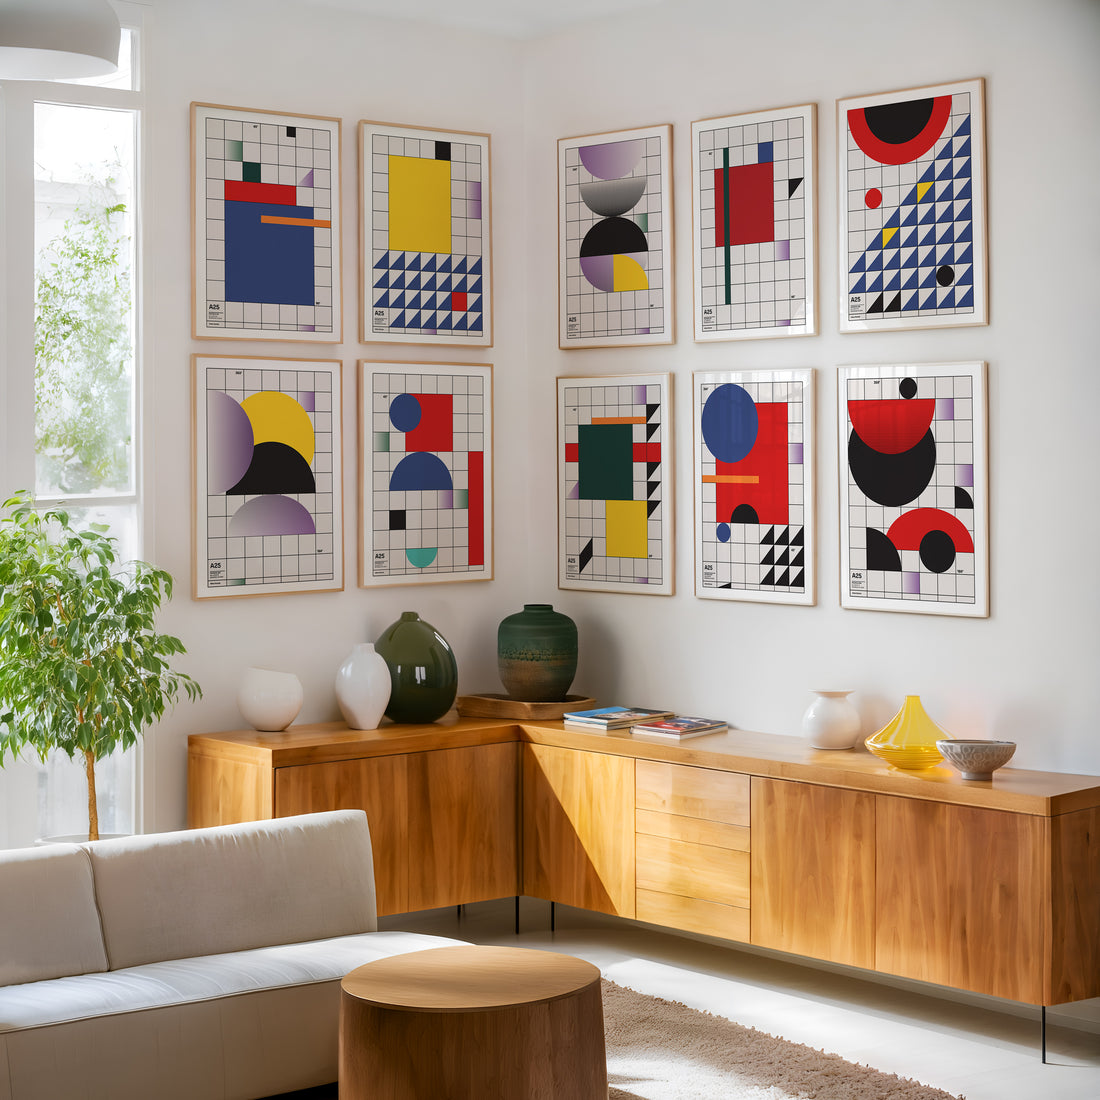
Creating Your Art Wall
Share
Creating an art wall, also known as a gallery wall or poster wall, is an exciting way to showcase your favorite artworks and add personality to your home. This process can be straightforward and enjoyable with the right preparation and tools. Here’s a step-by-step guide to help you design an art wall that enhances any space in your home.
Step-by-Step Guide to Creating Your Art Wall
1. Research and Gather Inspiration
The first step in crafting your art wall is to gather inspiration. Explore various styles, themes, and color palettes that resonate with you. Consider whether you want a cohesive look with subtle colors or a vibrant display with bold tones. Create a mood board using platforms like Pinterest or Instagram to visualize your ideas. Pay attention to the sizes and styles of the artwork you want to include, ensuring they will blend well together.
2. Measure Your Space
Before purchasing any art or frames, measure the wall space where you plan to create your art wall. Determine how much area you want your display to occupy. A useful technique is to use painter's tape to outline the dimensions of your planned layout directly on the wall. This will give you a visual reference for how the finished product will look.
When planning the layout, consider whether you prefer a symmetrical arrangement or an asymmetrical one. Keep in mind that spacing between pieces is crucial; aim for 3-10 cm between artworks for a balanced appearance.
3. Finalize Your Art Selection
With a clearer understanding of your layout and space, it’s time to select the final pieces for your art wall. Whether you're purchasing new prints or incorporating existing artwork, ensure that each piece complements the overall aesthetic you're aiming for. Don’t forget about the frames; they play a significant role in tying the display together. Choose frames that match or contrast effectively with your artwork and decor style.
Consider mixing different frame styles and colors for added interest, but try not to cluster similar frames together to maintain visual balance.
4. Hang Your Art
Once you have your artwork and frames ready, it’s time to hang them on the wall. Start by laying out your framed pieces on the floor according to your planned arrangement. This allows you to make adjustments before committing to any placements on the wall.
When hanging, aim for the center of your gallery wall to be at eye level, approximately 145-152 cm (57-60 inches) from the floor. This height is visually appealing and creates a sense of balance throughout your home.
Utilize tools like a level and measuring tape to ensure everything is straight and spaced evenly. For consistency in spacing, low-adhesive tape can be helpful in marking where each piece will go.
Styling Tips
- Mix Orientations: Incorporate both horizontal and vertical pieces to create visual interest.
- Vary Sizes: Use different sizes of artwork to add depth; avoid clustering pieces of similar sizes.
- Negative Space: Allow for some negative space in your arrangement; this helps each piece stand out while contributing to the overall composition.
- Final Touches: Once everything is hung, take a moment to step back and assess the overall look. Adjust any pieces as needed until you achieve a cohesive display.
Creating an art wall is not just about displaying art; it’s about expressing who you are through curated visuals that tell a story. With these steps, you'll be well on your way to designing an art wall that enhances your home's aesthetic appeal while reflecting your unique style. Enjoy the process of bringing creativity into your space!
